Showing posts with label DIY. Show all posts

Wednesday, August 21, 2013

More Games for the Game Room


A couple of weeks ago, I went to Fleattitude, a Vintage Market about 50 miles from my house.  I wasn't sure how long it'd take me to get there, so I was pretty early, which made me happy.  (I love being one of the first in line for sales like this!)   The night before, my husband said he wanted to go, until he found out that we'd be leaving by the crack of dawn.  He tried to get me to wait till later to go--not a chance.  Instead, he slept in and I shopped till I dropped. 


I found a lot of fun stuff!
 
 
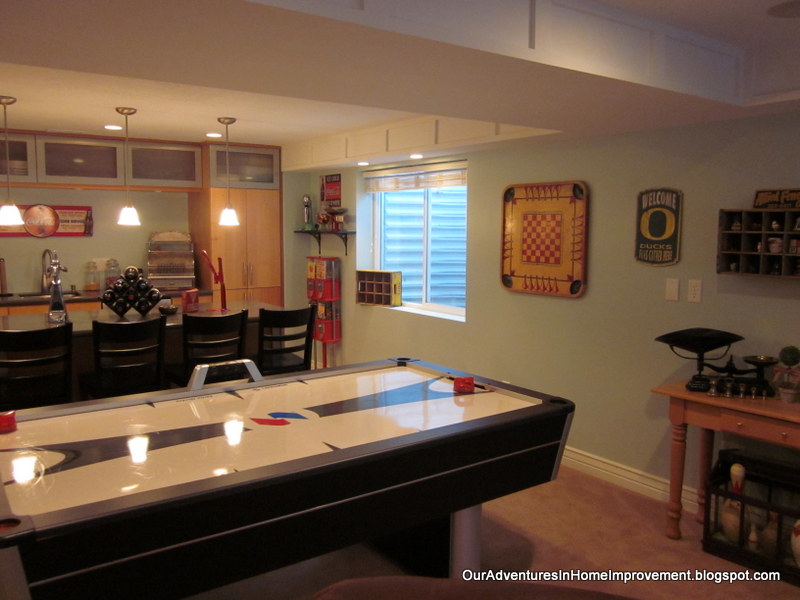
The first thing I found was this game board.  I had been considering one online for awhile, but wasn't sure.  I saw this and saw the great price, so I scooped it up!  The only thing wrong with it was a missing net in one corner.
 
 
Since I don't do needlework, I decided I would find a replacement.  I thought maybe a fishing net, but those were too thin and expensive. 
 
 
My husband found this set.  And it was on clearance.  By the time it was ours, we'd paid $2.33.  Definitely worth the chance!


I needed the new net to look a lot like this old one.  


 I cut it out of the racquet and sprayed it with Camouflage paint.  I let it dry about an hour, then stuffed it in the corners and hung it on the wall.


Yes, if you look closely, you can see which corner is the new one, but really, most people who come into our Game Room are there for a party, so I doubt that they'll ever notice!


Thanks for your visit!
 
Pam

Sunday, September 2, 2012

Burlap Table Runner--PB Look @ DIY Price


A few weeks ago I was in Pottery Barn and found a jute table runner.  I had been looking for one and was very happy to find it on sale.  I brought it home and it was way too big for my table.  I love the texture of jute, burlap, etc and kept looking for one, but didn't want to pay lots and lots.... Last night I saw this post by Kristen @ Ella Claire Inspired and was so excited to make a runner myself.
I went to JoAnn's today and bought 4 yards of burlap.  I followed Kristen's directions and it turned out great!
I started out by washing it with Tide and some bleach to get rid of the smell.  I had to do a second load with a little more Tide and two rinses.  It still smelled a little, but wasn't horrible.  I took it outside and draped it over some chairs for about an hour.  Before I brought it back in the house, I really tried to shake it out.  There were burlap fibers flying everywhere!  :)


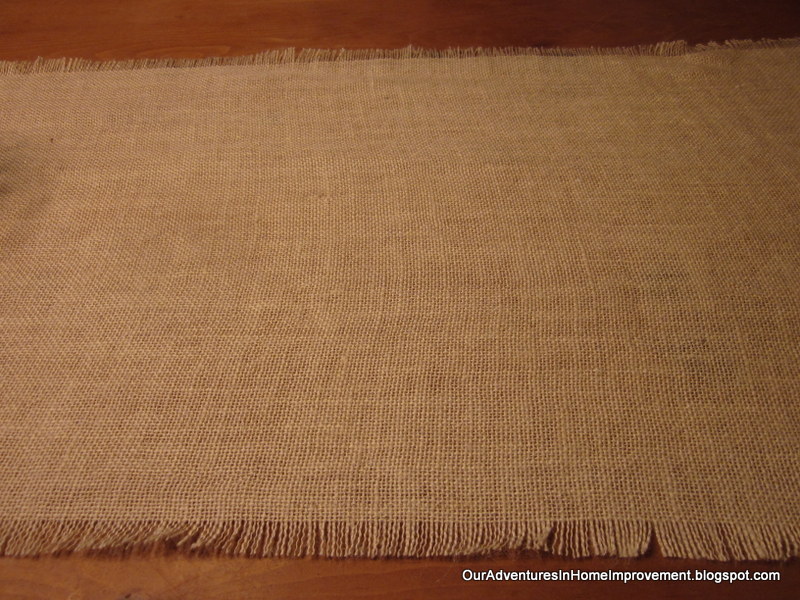
I then did a rough measurement of it, pulled a string from it and cut carefully along that line.  I cut it down the middle with the same technique.  Because it was so long, the string broke a couple of times.  I put on my reading glasses (haha!) and used a pin to find the string and started carefully pulling it again.  Once I had it out, I again carefully cut lengthwise.  I made it about 20" wide by 90" long for my 80" table.


I ironed it with my eurosteam.  I tried to use a normal iron set on Silk, as Kristen did, but wasn't getting anywhere.  It came out nice and smooth this way.
I set it on the table and did a final measurement.    I cut it so it'd hang a few inches over the edge of the table.  After that, I carefully pulled about 8 strings off, one at a time, to make the fringe.  This part was really easy.


And that was it!! 
I paid $10 for the burlap and can make two runners.  $5 for a runner is perfect in my book!  It sure beats paying $50 for the one at Pottery Barn.  Thank you Kristen!
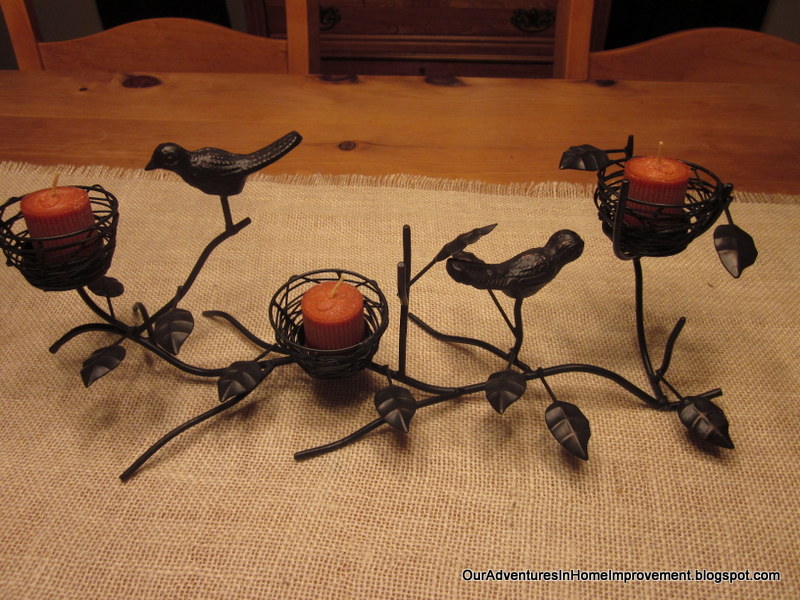
I was in Michael's today and found this bird/candle holder for 90% off. 
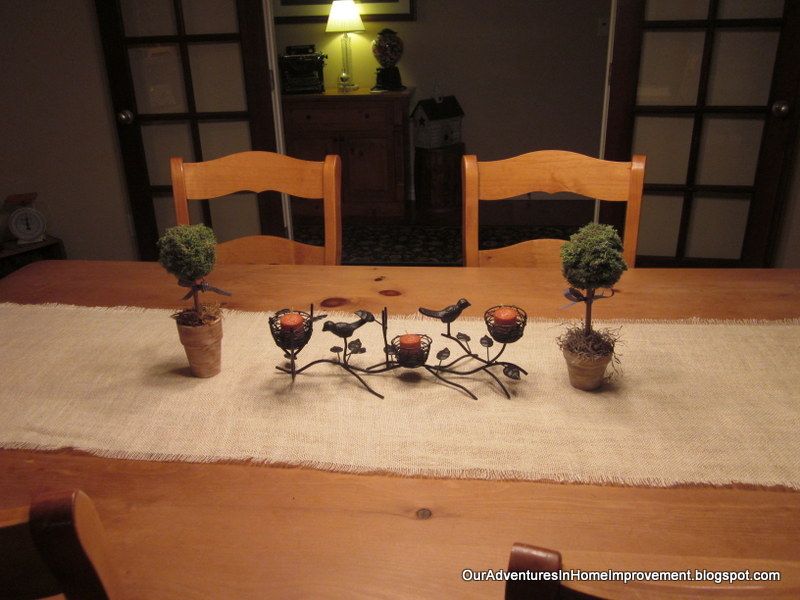
I added some topiaries that I made and now have a simply decorated table for fall.  Now if I can just keep the cat out of there....  :)

Thanks for your visit! 
Pam

If you're in the market for an air purifier, please visit my Sponsor:

Zadoozy iQAir Purifiers


I am linking to the following parties:


The DIY Show Off's Project Parade


>
TDC Before and After
>
"


Funky Junk's Saturday Nite Special

Monday, March 8, 2010

Pure Style Project #9: How To Make Wax Drip Candle Covers for Your Chandelier

Hope you had a great weekend!  We painted the nursery, organized it (finally!) & I started hanging things on the walls.  wahooo!!  Our washing machine broke and our house got so trashed from working on the nursery and neglecting everything else,  that we decided to head over to my parents' house and do laundry & order pizza & watch movies Saturday night.  They'd gone out for the night so we got to relax in their newly finished basement (redone after the flood.) (For those of you who haven't been reading this blog since the beginning, Dave & I had moved into my parents' last year to save up for this house.  It was one of the best things we ever did, although at the time it seemed like an eternity.)  It was cool to be back in our old "home" (the basement) Saturday night and remember all of our saving & dreaming & planning for a new house and to realize that we were there.   

Also, I've decided that because so many of our projects are decorating-related and not necessarily organization projects, I'll include both.  (BecausetTicking stuff off of my "to do" list gets me more organized even if it is purely decor-related.)

For this week's project I wanted to share with you the wax drip candle covers we made.  The stark white candle covers always bothered me on our old chandelier.  (We'd had to rewire it and replace the old damaged candle covers that were oroginal to it.)  I wanted pretty wax drip candle covers. 


So we made glue drips down the sides of the 30 cent plastic covers with Elmer's Glue.  I let a layer of drips dry before starting another one.  Here's the first layer (below).  Just start at the top with a glob of glue and let it drip down.  (As you can see from the pics it was a learning process.)  And use something better than a paper towel as the surface...  it sticks to the candles.  ;)


Once they'd dried and I had enough layers, I painted them with a cream paint we had lying around:


Here's a close-up:


I'm really way more into the orangey-aged color of the one wax drip candle cover below on the left (It adds so much to a chandelier) but I didn't have the right paint lying around. 


 So here they are for now & when I get the chance, I'll be recoating in a more orangey paint & antiquing:


But so much better for now.  (At least I don't cringe when people look up & examine my poor chandy or I put pics up on the blog.)  So if you have any chandeliers that are in need of new wax drips, please join in and link up!!  

xoxo,
lauren

ps-  This project's at your own risk.  I didn't use heat resistant paint, which I'm sure would be the smartest thing to do...  We checked our covers (prior to painting) and they don't get warm so we went for it, but that's up to you.  :)

On a Crafty Scale, I'm probably above-average for normal people but below-average or average for crafty bloggers/ blog readers/ DIYers.  I get very impatient & sloppy and like quick & easy projects.  This was sooo easy.   

*update -  also I didn't come up with this myself-- I think I must've read it in a magazine a few years ago**  :)