Showing posts with label burlap. Show all posts

Sunday, January 27, 2013

A Fun Way to Beat the Winter Blues--Shopping

We have had amazing weather this winter.  And by amazing, I do NOT mean hot, dry gardening weather.  I mean two feet of snow, freezing rain, ice, cold, cold, cold weather!


Well, the best way to solve the winter blues (in my book!) is to go shopping.  Recently, I found the cutest shop and it's not far from me.

Just a Bed of Roses has so many fun things!  The first time I went there, I was paying my property taxes across the street and saw lots of galvanized goodness out front.  I went in and found a shop FULL of great stuff and the nicest people working!

I've gone back several times on my days off and have found something fun every time! 

Brenda, the shop owner, carries these FABULOUS magazines!  They are huge, have lovely photography and stories of very creative people!  I was looking for a gift for a friend for Christmas and knew she'd love this magazine.

 
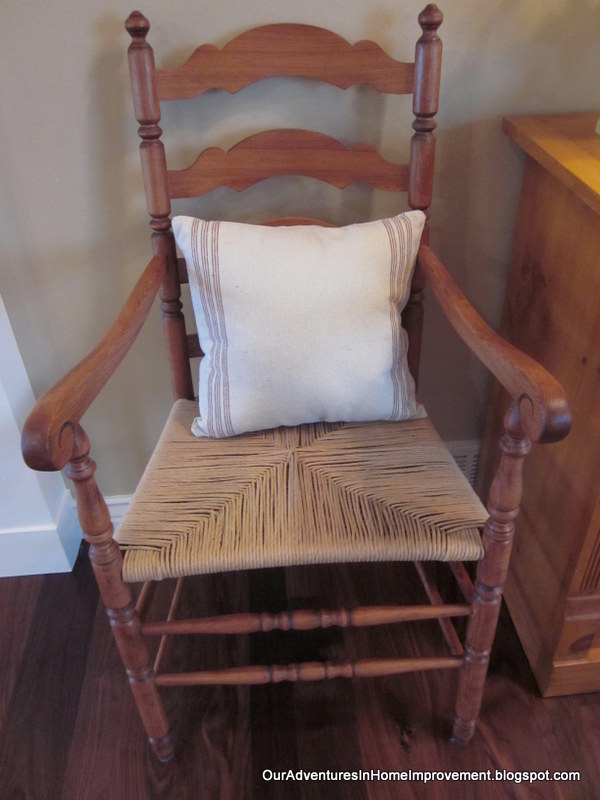
When I was in the other day, I found this burlap pillow.  I love it on the chair my husband remade several years ago.


I cannot wait for spring so I can put some flowers in this rusty green and yellow bucket!  I love the handle too!
 

They were selling these lemon cypress plants before Christmas.  I had it on my dining room table for the holidays and now have it in the family room.  I soak it in a bowl of water once a week and it's good to go.


I've bought the old zinc lids for canning jars as well as these wooden spools of thread.


Everytime I stop in and see Brenda or Joni, I find something fun and have a great visit! 
 
What fun finds have you found lately?
 
Thanks so much for stopping by.
 
Pam
 
 
I am linking to the following parties:


Sunday, September 2, 2012

Burlap Table Runner--PB Look @ DIY Price


A few weeks ago I was in Pottery Barn and found a jute table runner.  I had been looking for one and was very happy to find it on sale.  I brought it home and it was way too big for my table.  I love the texture of jute, burlap, etc and kept looking for one, but didn't want to pay lots and lots.... Last night I saw this post by Kristen @ Ella Claire Inspired and was so excited to make a runner myself.
I went to JoAnn's today and bought 4 yards of burlap.  I followed Kristen's directions and it turned out great!
I started out by washing it with Tide and some bleach to get rid of the smell.  I had to do a second load with a little more Tide and two rinses.  It still smelled a little, but wasn't horrible.  I took it outside and draped it over some chairs for about an hour.  Before I brought it back in the house, I really tried to shake it out.  There were burlap fibers flying everywhere!  :)


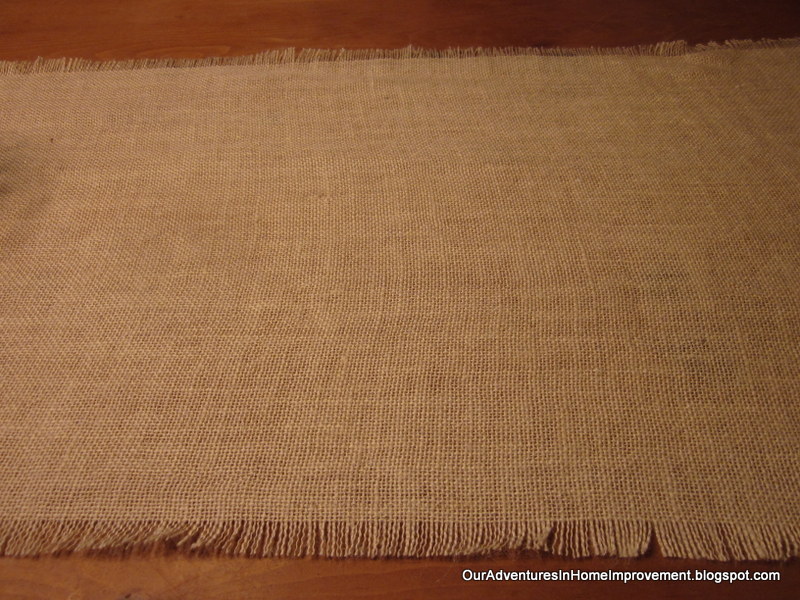
I then did a rough measurement of it, pulled a string from it and cut carefully along that line.  I cut it down the middle with the same technique.  Because it was so long, the string broke a couple of times.  I put on my reading glasses (haha!) and used a pin to find the string and started carefully pulling it again.  Once I had it out, I again carefully cut lengthwise.  I made it about 20" wide by 90" long for my 80" table.


I ironed it with my eurosteam.  I tried to use a normal iron set on Silk, as Kristen did, but wasn't getting anywhere.  It came out nice and smooth this way.
I set it on the table and did a final measurement.    I cut it so it'd hang a few inches over the edge of the table.  After that, I carefully pulled about 8 strings off, one at a time, to make the fringe.  This part was really easy.


And that was it!! 
I paid $10 for the burlap and can make two runners.  $5 for a runner is perfect in my book!  It sure beats paying $50 for the one at Pottery Barn.  Thank you Kristen!
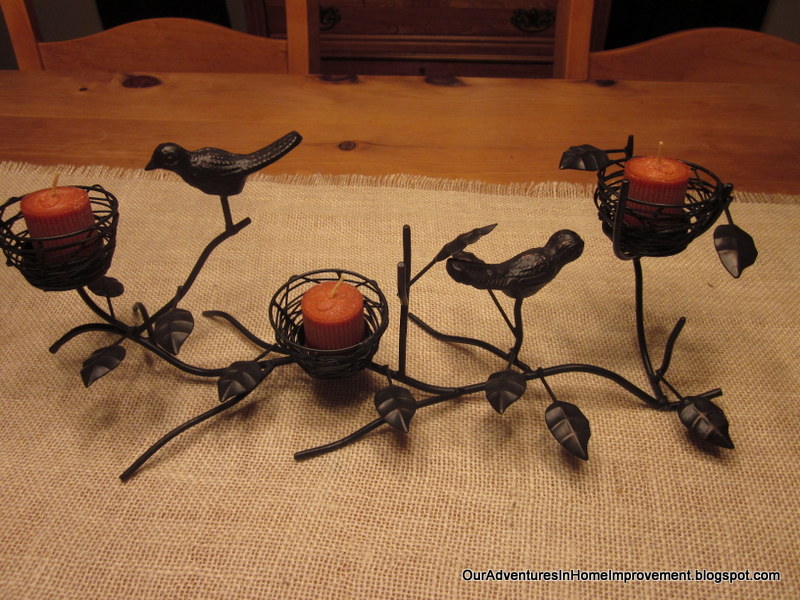
I was in Michael's today and found this bird/candle holder for 90% off. 
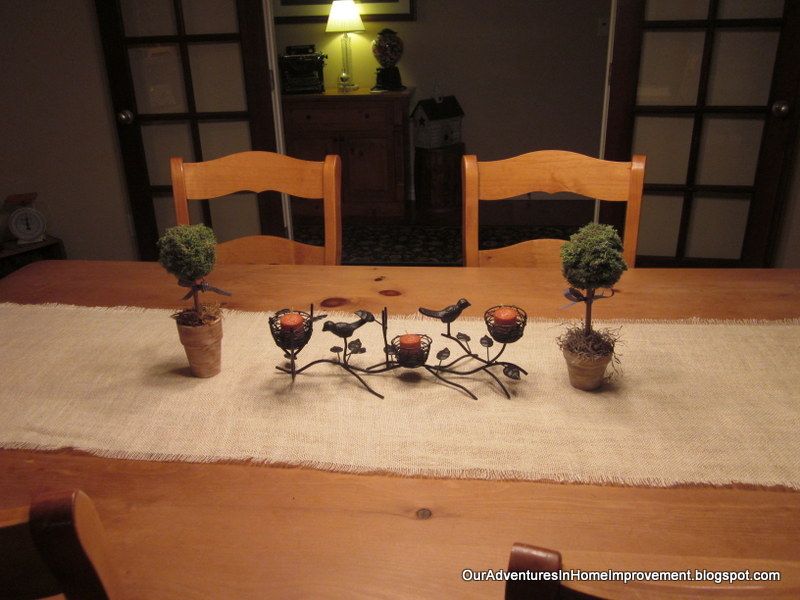
I added some topiaries that I made and now have a simply decorated table for fall.  Now if I can just keep the cat out of there....  :)

Thanks for your visit! 
Pam

If you're in the market for an air purifier, please visit my Sponsor:

Zadoozy iQAir Purifiers


I am linking to the following parties:


The DIY Show Off's Project Parade


>
TDC Before and After
>
"


Funky Junk's Saturday Nite Special

Sunday, October 9, 2011

Cute Wall Hanging with Burlap and Graphics


Recently I found this yellow frame at a garage sale for $2.  It was missing the glass or mirrors on the sides and one of the dividers wasn't connected, but it was well worth the $2! 


I removed the hooks and spray painted it an Oregano color.  I absolutely love Rust-oleum's 2x paints.  The coverage is so good!


After I painted it, I reattached the divider that had come unattached.


I used one of my favorite graphics from The Graphics Fairy.  I turned it in Picnik and copied it onto a piece of scrapbook paper.


I wrapped burlap around a piece of hardboard and hot glued the back.  I used hot glue to attach this key to one of them.


And this "5" to another.


I bought the key and the "5" at Hobby Lobby.


I then put everything back in the frame, reattached the hooks and hung it up.


I'm really happy with it.

Thanks so much for your visit!

Pam


I am linking to the following parties:


UndertheTableandDreaming The Graphics Fairy Tutorials and Tips

Sunday, May 15, 2011

Easy Fixes for Outdated Frames

I am embarrassed to admit it, but I have had a couple of framed pictures on our bedside tables for almost 20 years.  In the same frames.  Yes, silver and gold frames were all the rage in the 1990's! 

Recently I came to the conclusion that some serious updating was needed. 


Here's what I did to update this one:


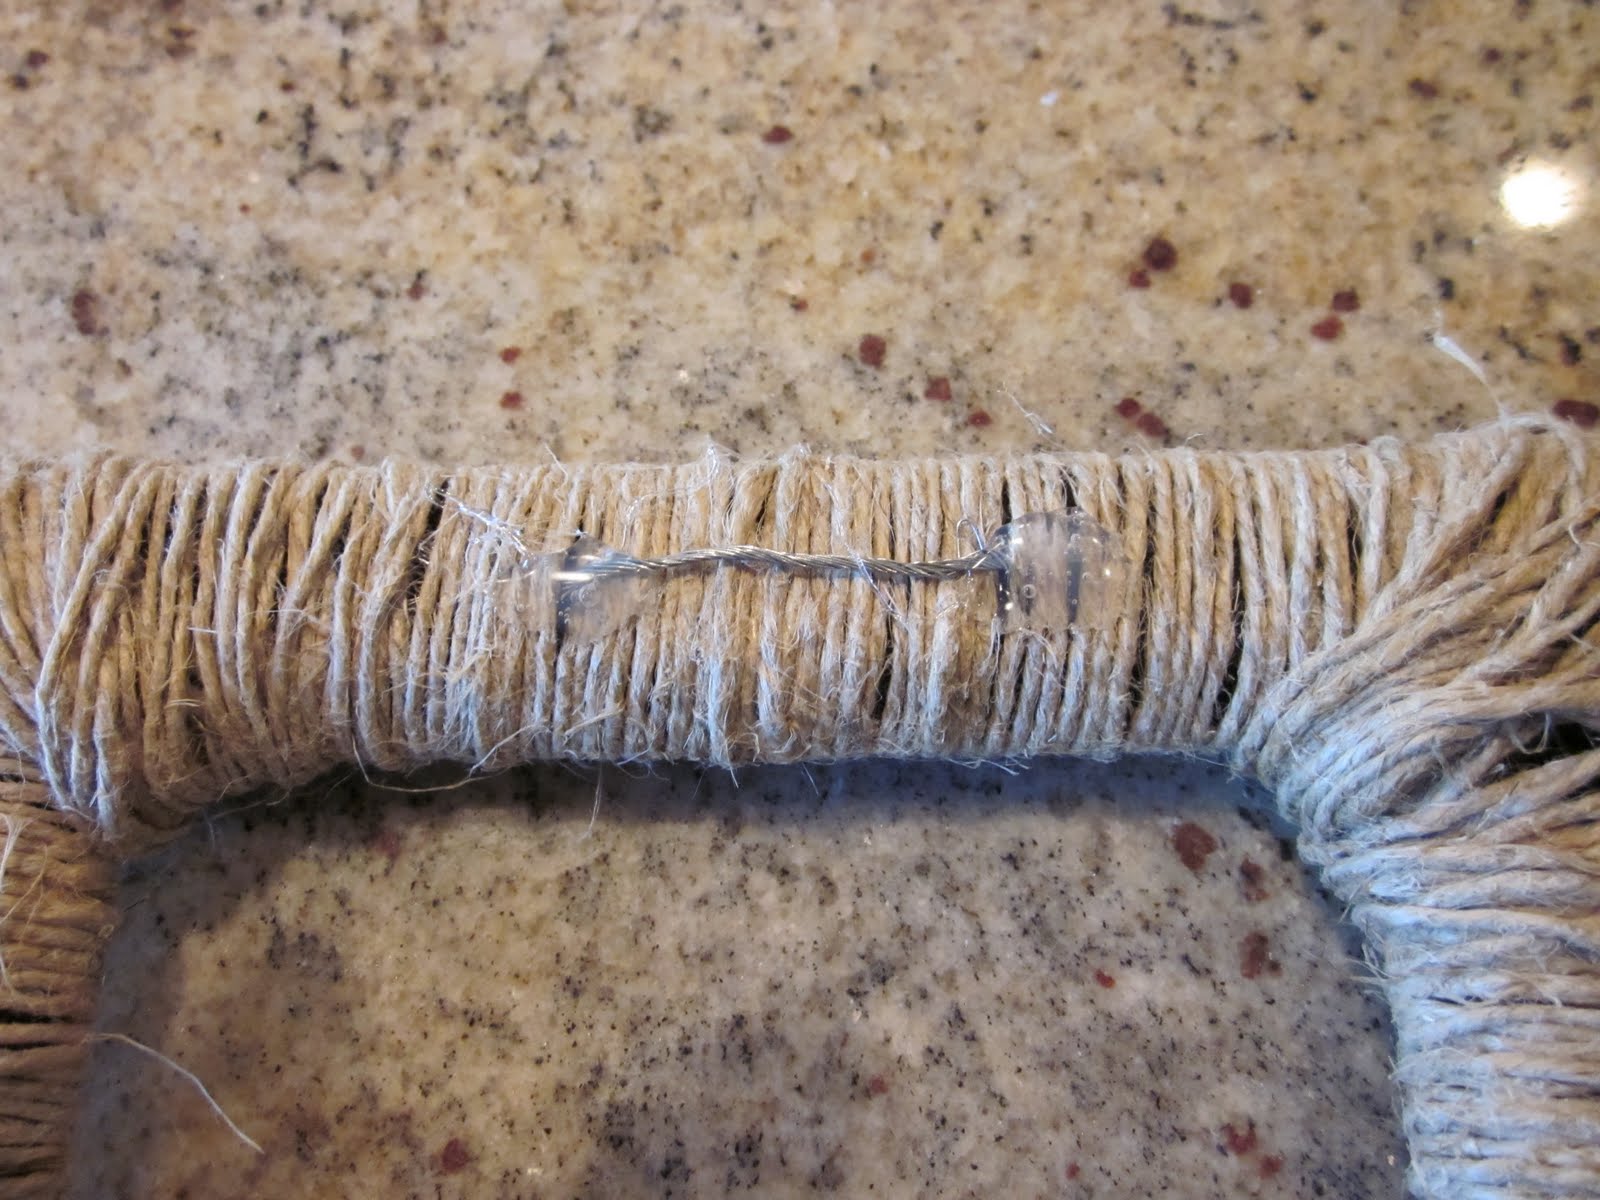
Those decorative knots in the corners were tough, but I just kept wrapping and wrapping until I could no longer see the shiny silver and gold.  The corners look a little bulky, but I kind of like the one of a kind-ness of it.


I hot glued some wire to the back to hang it. 


Because I wrapped the jute around (and around and around--OMG, how many times do I have to wrap this darn thing???), the glass wouldn't fit in it.  I needed to find another use for it.    Here's what I came up with.

I ended up using about 3/4 of the roll of jute on this 5x7 frame.
I superglued the starfish right to the wall. 

(As for the picture by our bed, I put it in a new wooden frame)


I found a wooden frame at a thrift store for $1.  I painted it blue and added burlap and batting.  I then glued a starfish onto the burlap.  I got this idea from Cottage Living-from the Beach to the Burb's Blogpost 


Here's what they look like on the wall.  The lower one doesn't show up very well in this picture, but looks fine in real life.


And here's another beachy corner of our master bedroom.  For the rest of the master, you can go HERE.

I made the starfish pillow using a graphic I found online.  I used an Ikea pillow cover and insert.  I copied it onto TAP Transfer paper, cut it close to the edges and ironed it on like I did with some other pillows HERE.


I hardly spent any money on any of these things and am happy with the way they turned out.

Thanks so much for coming by!

Pam

I am linking to the following parties: