Showing posts with label canning jars. Show all posts

Friday, March 22, 2013

An Old Washboard for the Laundry Room

I love old washboards and was so happy to find one on our local Craigslist last week.
 
 
This one has great graphics and the glass is in perfect condition.  What better place for it than the laundry room.
 
 
I made these "Mod podged with Graphics Fairy labels" laundry detergent bottles a couple of years ago  HERE.
 
I collect scales and was going to redo the one on the end, then decided I kind of like it in here, especially with the rusty pointer.


  I filled some blue canning jars with old clothespins, clips and spools of thread.  The chicken wire basket holds dusting and mopping cloths.


Last summer I found this copper washtub.  We use it in here for dirty towels. 


Thank goodness I have a modern washer and dryer.  I can't imagine the work that was involved in  doing laundry back in the day!
 
Thanks for coming by! 
 
Pam
 
 
I am linking to the following parties: 


DIY Show Off

Sunday, January 27, 2013

A Fun Way to Beat the Winter Blues--Shopping

We have had amazing weather this winter.  And by amazing, I do NOT mean hot, dry gardening weather.  I mean two feet of snow, freezing rain, ice, cold, cold, cold weather!


Well, the best way to solve the winter blues (in my book!) is to go shopping.  Recently, I found the cutest shop and it's not far from me.

Just a Bed of Roses has so many fun things!  The first time I went there, I was paying my property taxes across the street and saw lots of galvanized goodness out front.  I went in and found a shop FULL of great stuff and the nicest people working!

I've gone back several times on my days off and have found something fun every time! 

Brenda, the shop owner, carries these FABULOUS magazines!  They are huge, have lovely photography and stories of very creative people!  I was looking for a gift for a friend for Christmas and knew she'd love this magazine.

 
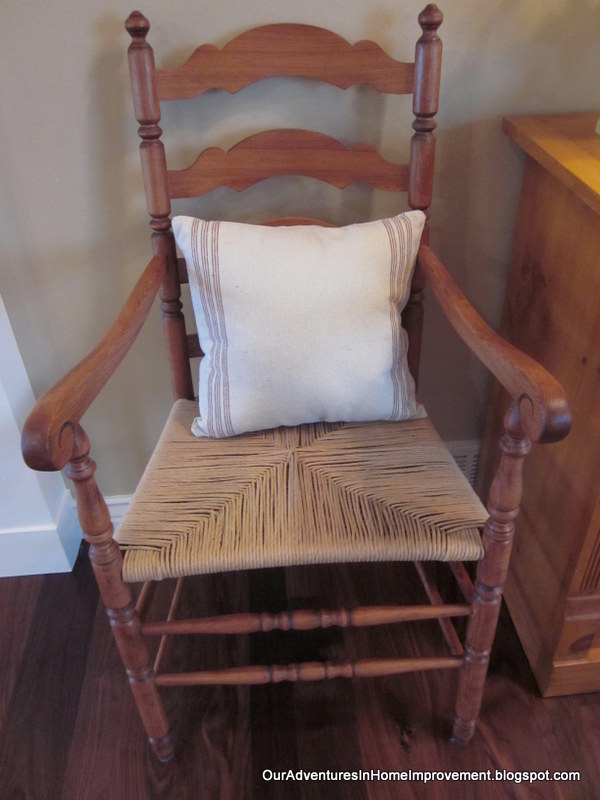
When I was in the other day, I found this burlap pillow.  I love it on the chair my husband remade several years ago.


I cannot wait for spring so I can put some flowers in this rusty green and yellow bucket!  I love the handle too!
 

They were selling these lemon cypress plants before Christmas.  I had it on my dining room table for the holidays and now have it in the family room.  I soak it in a bowl of water once a week and it's good to go.


I've bought the old zinc lids for canning jars as well as these wooden spools of thread.


Everytime I stop in and see Brenda or Joni, I find something fun and have a great visit! 
 
What fun finds have you found lately?
 
Thanks so much for stopping by.
 
Pam
 
 
I am linking to the following parties:


Sunday, December 2, 2012

It's Ornamental! Easy Christmas Decorations

I collect antique apothecary jars and display them on my mantel.  At Christmas I like to change them up by taking out the candy and putting glass ornaments in them.  It's a great way to bring Christmas color to the mantel and most importantly, I don't have to find a place to store the jars during the holidays.


A few years ago when I was changing out the jars, I decided to also change out the things on my candy scales.  I love them in there too.


This picture doesn't do the shininess of the ornaments justice.  They really pop in here.


Well, I was on a roll with the ornaments this year and decided to add them to an old canning jar.  I'm really happy with this look too. 
 
 
So there you have it.  A super-easy, super-inexpensive way to bring in some Christmas color.


Thanks so much for your visit and comments!
 
Pam
 
I am linking to the following parties:


>

Sunday, October 28, 2012

Beadboard Cabinet Redo


I found this skinny cabinet at a garage sale a few weeks ago.  I was looking for something for my son's college apartment. It was the right size, but the more I thought of it, it was not the right piece for a college guy.   I decided to get him something else and would keep this for myself.


I wasn't thrilled with the color, but loved the cabinet itself.  


I like the patina of the wood shelves inside, so decided to leave them.


Easy enough to change what I didn't like....
I painted several coats of white on it 


I then distressed it with sanding blocks and an electric sander.


I added old blue canning jars and the old can of seed packets on the top.


I'm not sure where I'm going to put it long-term, but here it is in the entry for now.


Thanks for your visit!
Pam
I am linking to the following parties:

>
DIY Show Off
Furniture Feature Fridays

Saturday, May 26, 2012

Aging New Mason Jars and Lids


I have a few of the old blue mason jars with the zinc lids and love the look of them.  I've tried painting new canning jars with the Vitrea paint and heating them in the oven.  That worked well, but the Vitrea paint is somewhat expensive, even with a coupon.  I then found Suzanne's post on her blog Chickens in the Road about using Mod Podge, food coloring and water. 

I started with:
2 tablespoons Mod Podge
1 tablespoon Water
4 drops of Blue Food Coloring
1 drop of Green Food Coloring

I mixed those in a bowl, then played with the food coloring to make it more blue, although it stayed somewhat green... 


I poured some of the mixture in the clear canning jar and swirled it around until everything was covered.  I tried to let any excess drip out.


You will only be putting the color on the inside and please be aware that because it's Mod Podge, you cannot add water to these.  The color will come off.  I would not put food in them either.

Suzanne recommended using parchment paper, then foil on a cookie sheet.  I put those down and set the jars upside down on the parchment paper.  It continued to drip out, so I moved the jars around so they wouldn't have a pool of the mixture at the bottom.

I then put them in the oven at 200 degrees.  After a few minutes, I pulled them out and using a hot pad to hold the jar, carefully wiped off the excess with a paper towel.  (Even though I did this,  there was still a lot of excess even at the end of the process...) 

I put them in the oven for about 35 minutes total.


It's funny how different the colors look here, but once they were done, I couldn't tell them apart.


After the 35 minutes, I pulled them out of the oven and let them cool for a few minutes.  I didn't get a picture of this step, but there was a fair amount of goop that had pooled at the lip of each jar.  I used plain steel wool and wetted it with a little water to remove the goop.  I had to be careful not to rub the steel wool too hard into the jar, only on the lip where there was a lot of excess.


Now that I had bluish-greenish jars, I decided to see if I could make zinc looking lids.

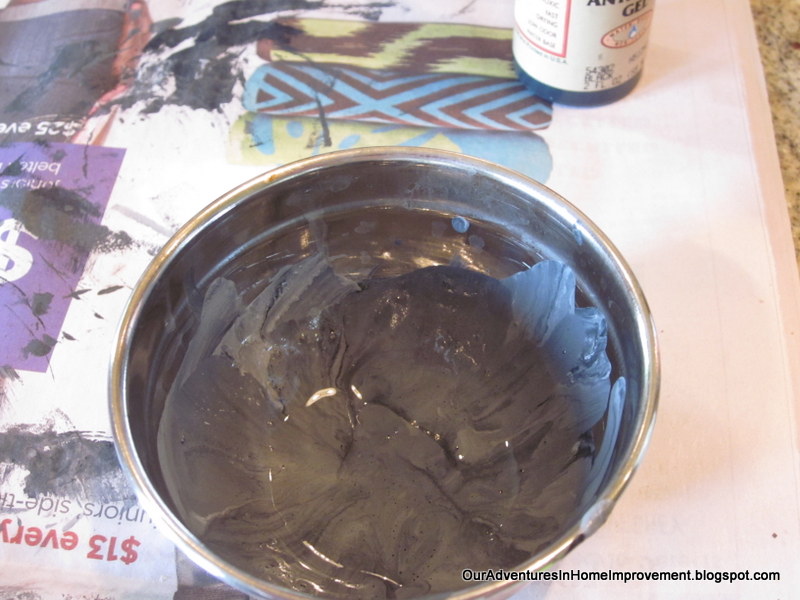
I found some Dophin Grey paint and mixed it with Black Antiquing Gel.  I only used the antiquing gel because I couldn't find a bottle of regular black paint...


I used a 1" foam brush and dabbed it on until it looked rough enough.

I let it dry and kept adding a little more paint and texture until it looked right.  


I really like the way they turned out. 


I like the look of sand and shells in them too.


Thanks for your visit!

Pam


I've been nominated for Best Innovative Blog at Palatin Remodeling.  I'd love it if you would vote for me.


I am linking to the following parties:


>Funky Junk's Saturday Nite Special

Chic on a Shoestring Decorating